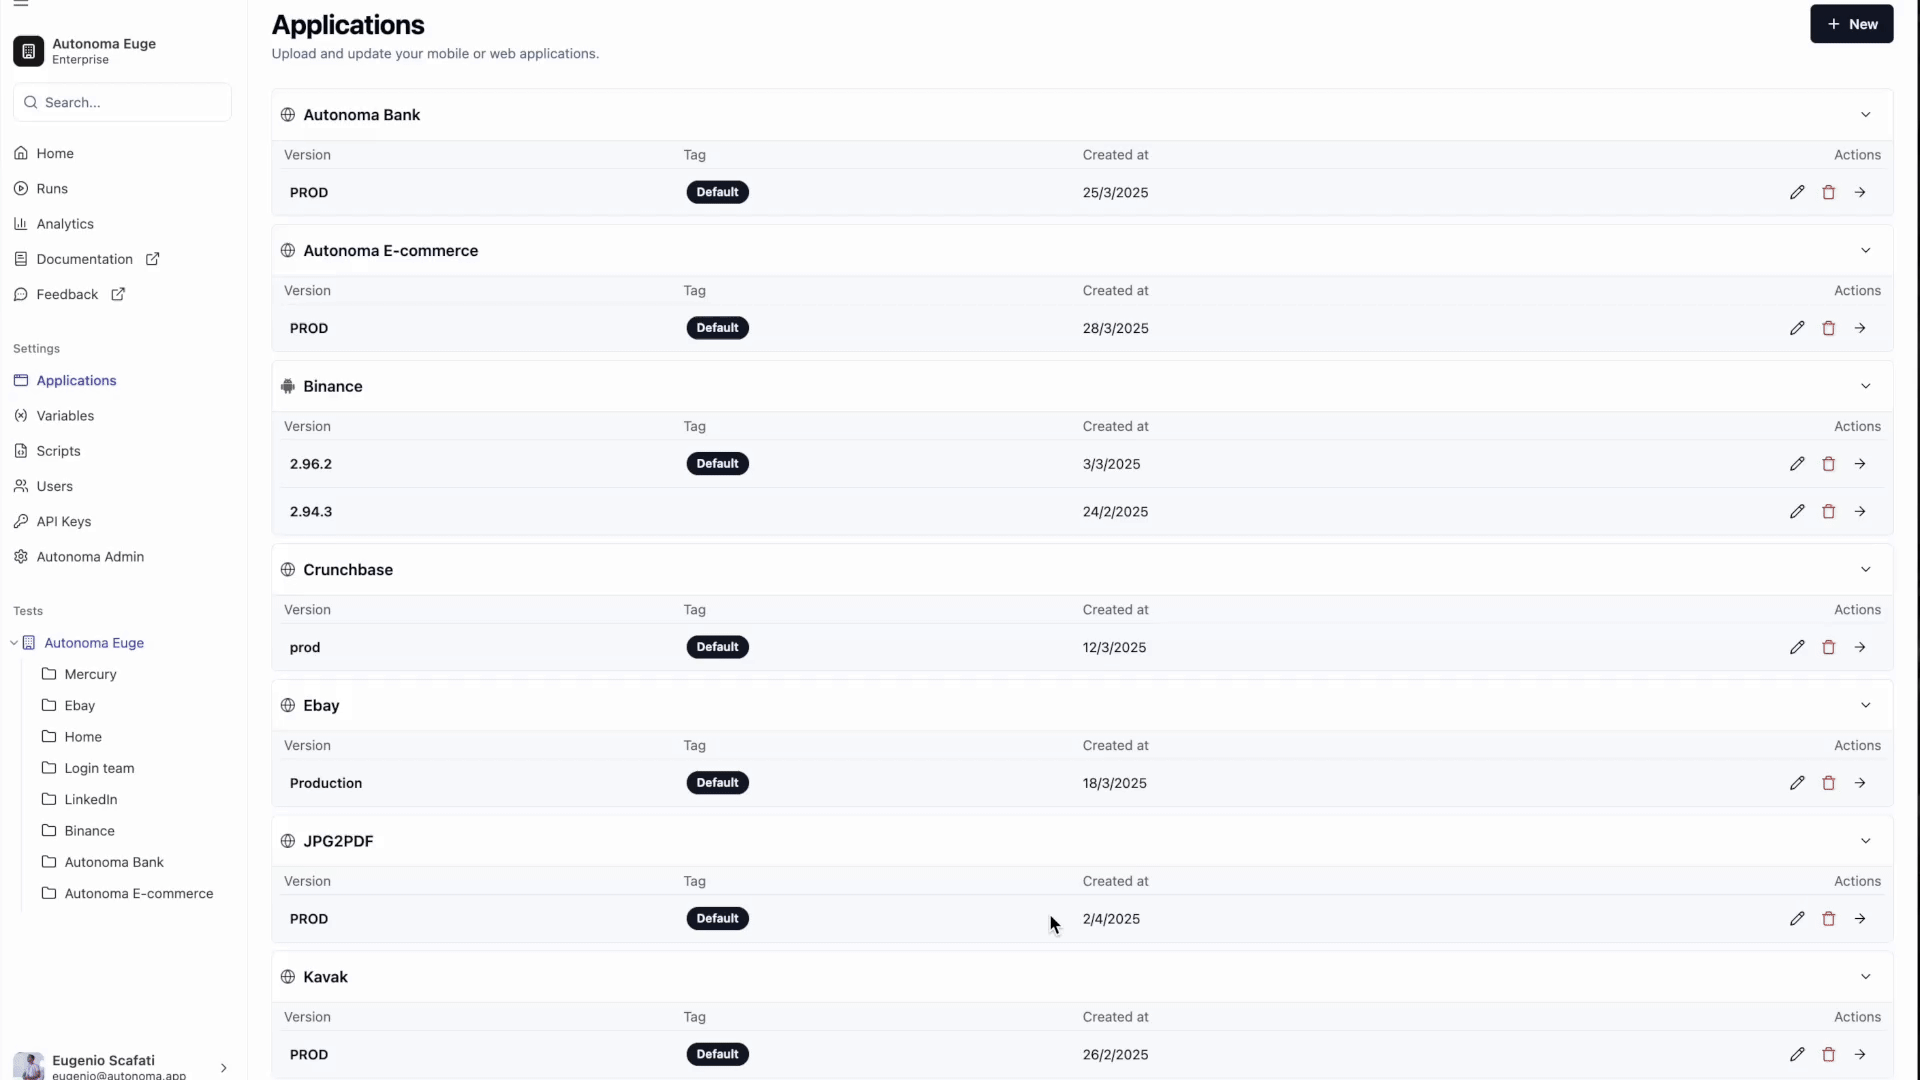
For Web Applications:
- Add a Name
Provide a name for the web application. This helps you easily identify it in your list of available applications. - Enter the URL
Add the URL where the web application is hosted. This could be a public-facing URL or an internal testing environment URL. - Set an Environment Tag
Assign an environment tag to indicate where the web app is running. Common tags include Prod, Staging, QA, but you can also create custom tags specific to your business needs (e.g., Dev, Beta, etc.).
For Mobile Applications:
- Add a Name
Provide a name for the mobile application so you can easily identify it. - Upload the Application File
Upload the mobile app file (.apk for Android, .app for iOS) that you want to test. This is the app version you’ll be interacting with during your tests. - Add a Version Tag
Specify the version of the mobile app, such as 1.x, 2.x, etc., to distinguish between different releases or iterations.
Create a new test
Go to create a new test!