

What You’ll Learn
By the end of this guide, you’ll have created a real, working e2e test. We’ll test a sign-up flow on a public website, and you’ll learn the fundamental workflow that you’ll use for all your tests. Time to complete: 10-15 minutesBefore You Start
Make sure you have:- Access to Autonoma (if you don’t, sign up at autonoma.app)
- Your application configured in Autonoma (see Configure Your Application if you haven’t done this yet)
The Autonoma Workflow
Every test in Autonoma follows the same simple pattern:- Navigate to your application
- Interact with it (clicks, typing, scrolling)
- Verify that things work as expected
- Run the test to confirm it works
- Save and schedule it to run automatically
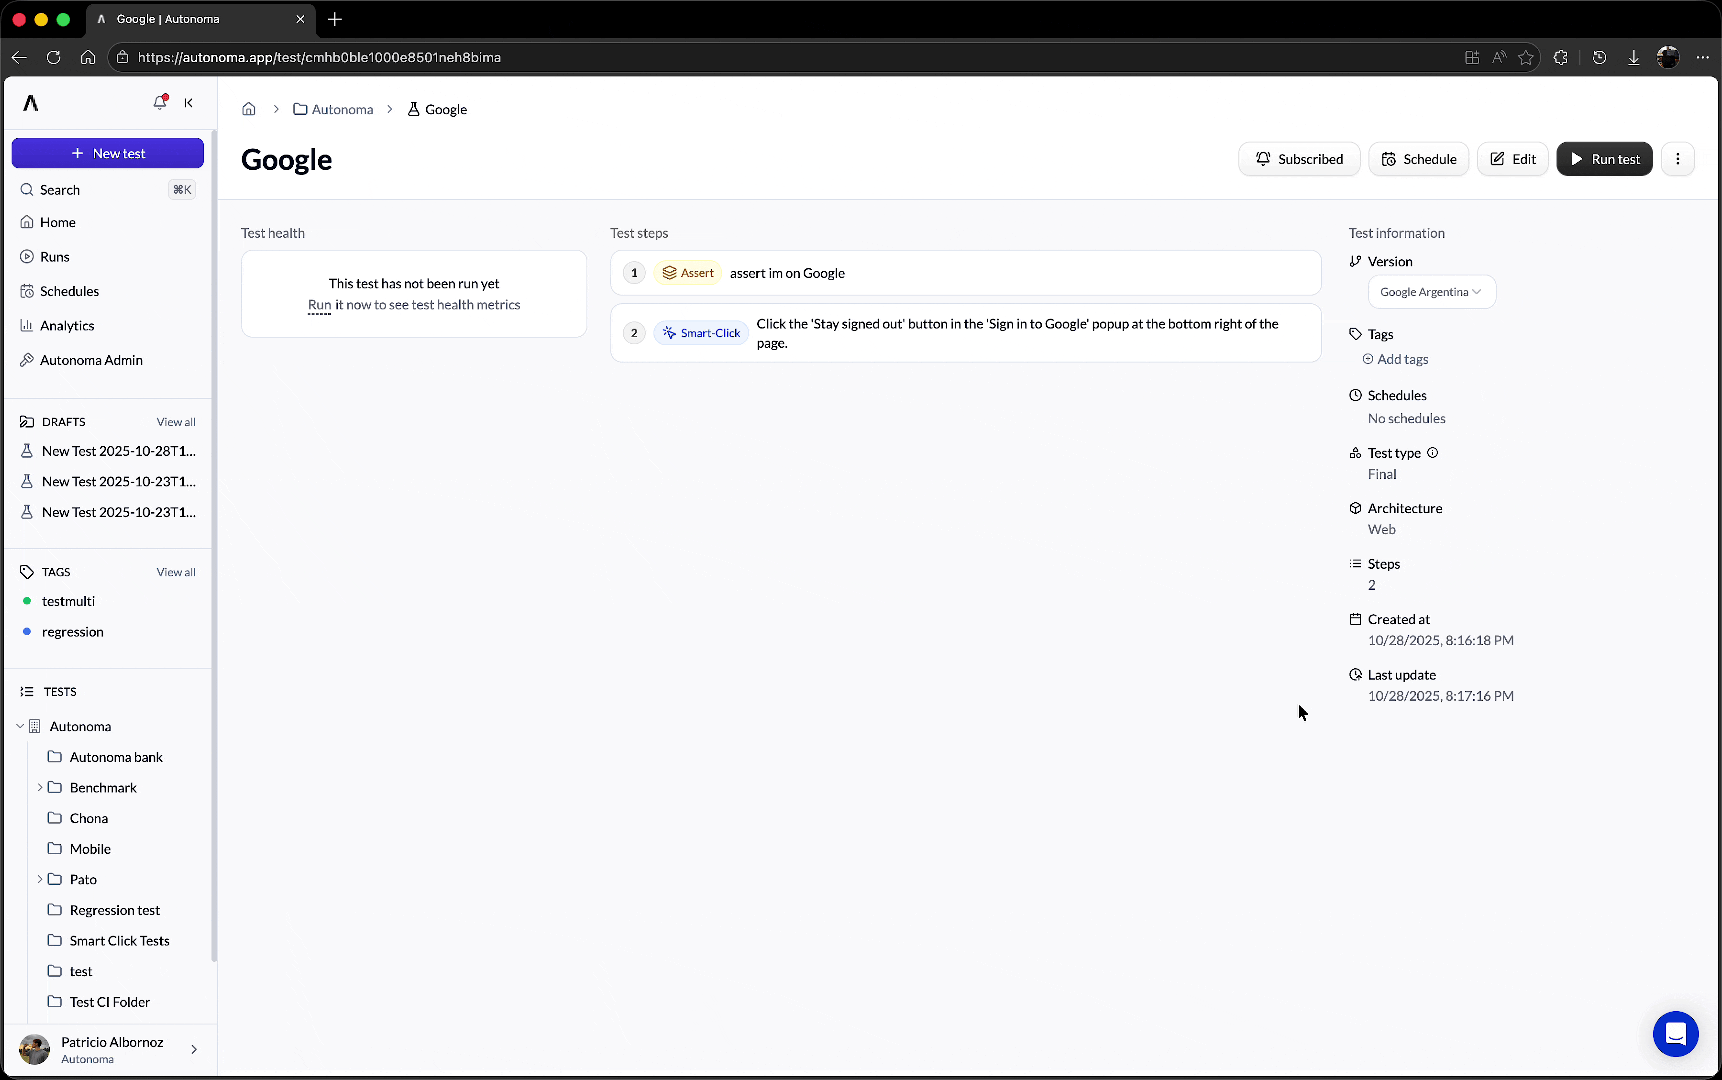
Step 1: Create a New Test
- Log into Autonoma at autonoma.app
- Click Create Test (usually a prominent button on your dashboard)
- Select your application (or choose “vercel.com” if you want to follow along with this tutorial)
- Give your test a name: “Sign up flow - Verify form validation”
Step 2: Navigate to Your Starting Point
You’ll see a canvas showing your application. This is where the magic happens—you’re looking at a real, live version of your app that Autonoma can interact with. For this tutorial: The canvas should already be showing vercel.com. If you need to navigate to a specific page:- You can click around naturally to get there, OR
- Use the URL bar to jump directly to a page
- Look for the “Sign Up” button on vercel.com
- Simply click it on the canvas
Step 3: Interact With Your Application
Now we’re going to fill out the sign-up form. In Autonoma, you have two ways to interact:Method 1: Direct Interaction (Recommended for Simple Actions)
Just click on things and type into fields directly on the canvas. Autonoma will record what you do.Method 2: Natural Language Prompts (Recommended for Complex Actions)
Describe what you want to do in plain language. For this tutorial, let’s use direct interaction:- Click on the email field in the sign-up form
- Type a test email:
test-user@example.com - Click on the password field
- Type a test password:
SecurePassword123! - Click on the name field (if there is one)
- Type a name:
Test User
Understanding Atomic Prompts (Important!)
Here’s a key concept in Autonoma: prompts are atomic, meaning each prompt should do one thing. Good examples (atomic):- “Click on the submit button”
- “Type ‘test@example.com’ in the email field”
- “Verify I see the success message”
- “Click submit and verify the success message appears” ❌
- “Type the email and then click submit” ❌
- Step 1: “Type ‘test@example.com’ in email field”
- Step 2: “Click the submit button”
- Step 3: “Verify I see the success message”
Step 4: Add Verifications (Assertions)
Here’s the critical part: verifying that your application behaves correctly. Without verifications (also called “assertions”), your test would just click around without checking if anything actually works. Think of verifications as checkpoints: “At this point in the journey, I should see X.” For our sign-up test, let’s add a verification: After clicking submit, we want to verify that we actually see the sign-up page or a form validation message.- After you’ve filled out the form, add a new prompt
- Type: “Verify I see the sign-up form”
When to Add Verifications
Rule of thumb: Add verifications frequently, especially:- After navigation (verify you got to the right page)
- After clicking buttons (verify the expected result happened)
- After form submissions (verify success message or new page)
- At the end of a workflow (verify the final state)
- Click “Sign Up” button
- Verify I see the sign-up form ← Checkpoint
- Fill in email
- Fill in password
- Click “Submit”
- Verify I see “Welcome” message ← Checkpoint
- Verify I see the dashboard ← Final checkpoint
Step 5: Run Your Test
Now let’s see your test in action!- Click the Run button (usually in the top-right corner)
- Watch as Autonoma:
- Opens a fresh browser/device
- Performs each action you recorded
- Checks all your verifications
- Reports success or failure
- Each step executing in sequence
- Visual feedback showing what’s being clicked
- Verifications being checked
- A final “Test Passed” or “Test Failed” result
- Timing: Maybe the page needs more time to load
- Missing verification: The element you’re looking for isn’t visible
- Incorrect prompt: The AI didn’t interpret your instruction correctly
Step 6: Refine Your Test (If Needed)
Your test might not pass on the first try. That’s completely normal and expected! Here’s how to fix common issues:Issue 1: Elements Not Found
Problem: “Could not find the submit button” Solution: Make your prompts more specific:- Instead of “Click submit”, try “Click the button that says ‘Sign Up’”
- Or use direct clicking instead of prompts
Issue 2: Timing Issues
Problem: Test tries to click something before it’s loaded Solution: Add a wait or scroll:- “Wait until the form appears”
- “Scroll until I see the submit button”
waitUntil and scrollUntil in depth in the Core Concepts section, but for now, just know they exist to help with timing issues.
Issue 3: Verification Fails
Problem: “Could not verify success message” Solution:- Check if you’re looking for the right thing
- Make sure the verification happens after the element should appear
- Try making the verification more specific: “Verify I see text containing ‘Welcome‘“
How to Edit Steps
To modify a step:- Click on the step in your test
- Edit the prompt or action
- Re-run the test to verify your change works
Step 7: Save and Name Your Test
Once your test passes consistently:- Click Save
- Give it a descriptive name if you haven’t already
- Add it to a folder (optional but recommended for organization)
Step 8: Run Your Test in Different Ways
Now that your test is saved, you have three flexible ways to execute it, depending on your needs:Method 1: Run On Demand (Quick Testing)
The simplest way to run a test is on demand. This is perfect for:- Testing changes you’ve just made
- Debugging issues
- Quick verification before deploying
- Find your saved test in the dashboard
- Click the Run button
- Watch the test execute in real-time
- See results immediately
Method 2: Schedule Automatic Runs (Continuous Monitoring)
For ongoing monitoring, you can schedule your tests to run automatically at set intervals. This is ideal for:- Regular health checks
- Monitoring after deployments
- Catching regressions over time
- Hourly: For critical flows that need frequent checking
- Daily: For important but stable features
- Weekly: For comprehensive regression testing
- Monthly: For thorough end-to-end validation
- Go to your test settings
- Choose “Schedule” from the execution options
- Select your frequency and time
- Save the schedule
Method 3: Run Programmatically via API (CI/CD Integration)
For full automation in your development pipeline, you can run tests programmatically using our API. This is essential for:- Integrating tests into CI/CD pipelines
- Running tests as part of deployments
- Automating quality gates
- Trigger tests from any CI/CD system (GitHub Actions, GitLab CI, Jenkins, etc.)
- Run tests before/after deployments
- Get programmatic results for automated decisions
 Basic API usage:
What You Just Learned
Congratulations! You’ve just created your first e2e test. Let’s recap what you did:- ✅ Created a new test in Autonoma
- ✅ Navigated to a page by clicking naturally
- ✅ Interacted with form fields
- ✅ Added verifications to check results
- ✅ Ran the test and saw it execute
- ✅ Debugged and refined (if needed)
- ✅ Saved your test
- ✅ Learned different ways to run your test
- E-commerce checkout
- User login
- Form submissions
- Multi-step workflows
- Mobile app interactions
- Complex admin panels
Real-World Example: Applying This to Your App
Now that you’ve tested vercel.com, you can apply the same workflow to your own application:Example: Testing Your E-commerce Checkout
- Navigate: Start on your homepage → Click into a product
- Interact:
- Click “Add to Cart”
- Verify cart badge shows “1”
- Click cart icon
- Verify product appears in cart
- Click “Checkout”
- Verify:
- Verify checkout page appears
- Verify cart total is correct
- Verify product name is displayed
- Run: Execute and refine until passing
- Save: Name it “Checkout - Add single item to cart”
Example: Testing Your Login Flow
- Navigate: Go to your login page
- Interact:
- Type email
- Type password
- Click “Sign In”
- Verify:
- Verify dashboard appears
- Verify user name is displayed
- Verify “Sign In” button is gone
- Run: Execute and refine
- Save: Name it “Authentication - Successful login”
Understanding Test Results
When you run your test, you’ll get one of these outcomes:✅ Passed
All steps executed successfully, and all verifications passed. Your application is working as expected for this workflow!❌ Failed
Something didn’t work:- An interaction failed (couldn’t click a button, couldn’t find a field)
- A verification failed (expected element wasn’t present)
- An error occurred (page crashed, timeout)
- Your application has a bug (the test caught a real issue!)
- Your test needs refinement (incorrect prompt or verification)
⚠️ Flaky
The test sometimes passes, sometimes fails, without any code changes. This usually means:- Timing issues (need to add waits)
- Dynamic content that changes (need to adjust verifications)
- External dependencies (API calls with variable response times)
Best Practices You’ve Just Learned
As you created this first test, you followed several best practices:- Descriptive naming: “Sign up flow - Verify form validation” tells you what it does
- Atomic steps: Each action is separate and clear
- Frequent verifications: Check things along the way, not just at the end
- Real user simulation: Clicked and typed just like a user would
- Test refinement: Ran multiple times to ensure reliability
Common Questions
”Should I test with real data or fake data?”
For most tests, use fake data (liketest-user@example.com). For testing critical flows in production-like environments, you might use real test accounts. We’ll cover managing test data with Variables in the Core Concepts section.
”How long should my test be?”
Shorter is better. Aim for tests that:- Take 1-3 minutes to run
- Test one specific workflow or feature
- Have clear success/failure criteria
”What if my app requires login?”
Most apps do! Check out Configure Your Application for detailed guidance on handling login, including:- Simple email/password login
- Magic link login
- SSO/OAuth
- Skip-login approaches (headers/cookies)
“Can I edit a test after saving?”
Absolutely! Tests aren’t set in stone. As your application evolves, you’ll update your tests. Click on any saved test to edit it.”What if I make a mistake while recording?”
No problem! You can:- Delete steps you don’t want
- Add steps you forgot
- Reorder steps by dragging
- Edit prompts to fix mistakes
Your Next Steps
Now that you’ve created your first test, you’re ready to:- Create tests for your own application using the same workflow
- Set up automated test execution with CI/CD integration (CI/CD Integration)
- Learn about test structure to understand what makes tests robust (Understanding Test Structure)
- Explore organization strategies to manage multiple tests (Test Organization)
- Configure login if you haven’t already
Key Takeaways
- The core workflow is simple: Navigate → Interact → Verify → Run → Refine
- Keep prompts atomic: One action per step
- Verify frequently: Add checkpoints throughout your test
- Tests will need refinement: It’s normal to run and adjust multiple times
- Multiple execution options: Run on-demand, schedule automatically, or integrate with CI/CD
- The same pattern works everywhere: What you learned applies to all your testing needs